
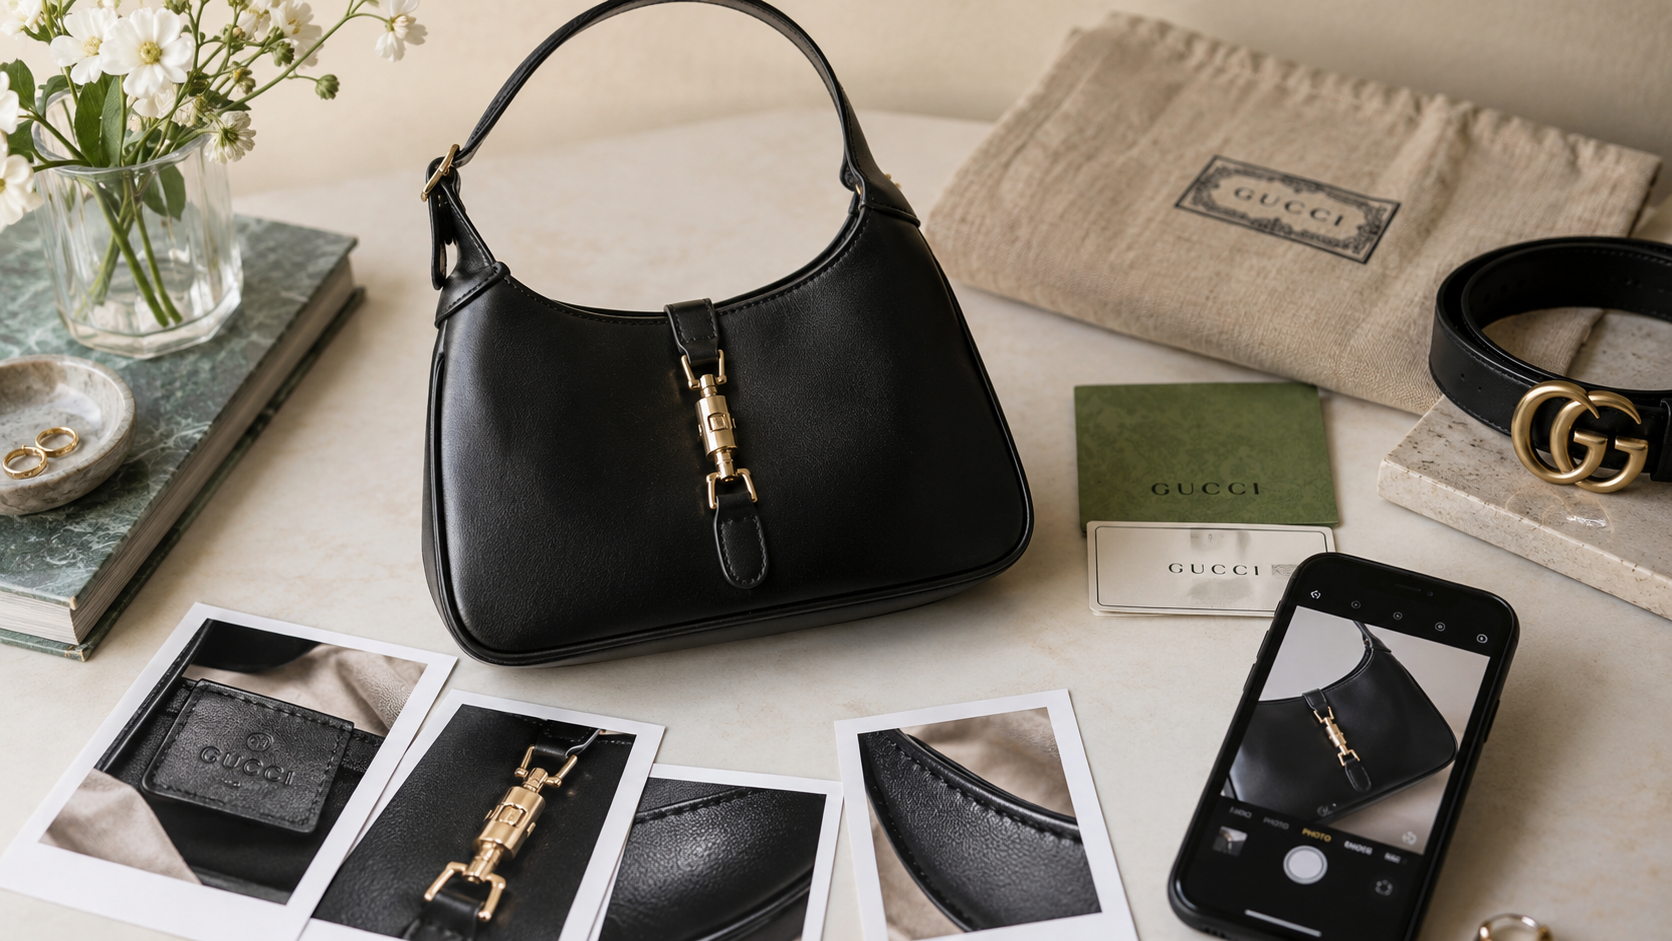
A useful Gucci photo set has three layers: the whole item establishes shape and configuration; a location view shows where a feature belongs; a detail resolves its lettering or construction. For a leather tag, that means the open interior, the tag at its attachment, then its front and reverse.
I took the photographs in this guide. These small reference crops illustrate the positions I want to see; submit your own photos as full-resolution camera files.
Start with the exterior and interior, then work through the tags, hardware and wear in the checklist below. For model identification alone, use the shorter photo set in my Gucci bag model guide.
Table of Contents
Set Up the Light and Camera First
Use a plain, matte background and bright, indirect daylight. Put the item near a window with the light arriving from the side; soften direct sun with a sheer curtain. Turn off a strongly colored room light if it changes the leather’s appearance. Keep your phone and hand from casting a shadow over the detail.
Wipe the lens, brace your hands and use ordinary photo mode. Keep the camera parallel to a flat tag so its proportions stay even. Tap the letters or engraving to focus, then adjust exposure until the marks and surrounding surface remain visible. Apple’s camera guide covers focus and exposure controls for iPhone users.
Focusing distance depends on the phone and subject. Move closer while the detail stays sharp; back away if focus starts hunting. On supported iPhones, Apple’s macro guidance recommends moving back when the image becomes blurry. Check the saved file, since the camera preview can hide softness in small details.
I prefer a slightly wider, crisp image to a soft frame filled by one letter. Keep filters, portrait blur and beauty effects off. Retake blurry details rather than using enlargement or AI enhancement that redraws them.
Gucci Bag Photos: A Complete Working Set
Work around the bag in sequence. Move straps clear of each panel and open pockets gently. Let the structure sit naturally; tight stuffing can distort its shape and seams.Capture every applicable row. A row may need more than one photograph; there is no fixed total that fits every Gucci bag.
| View | Include in the frame | Check before moving on |
|---|---|---|
| Front and back | Complete outline, flap, handles and pattern | Edges are visible; straps cover no key panel |
| Both sides and base | Gussets, piping, bottom seams and feet where present | Each side has its own view; the base is fully shown |
| Open interior | Lining, pockets, dividers and attachment points | Light reaches the interior without hiding it behind the flap |
| Leather tag | Location, front wordmark, reverse numbers and attachment seam | Every character and the tag’s edges are visible |
| Black fabric label, if present | Location, full face, printed code, edges and accessible reverse | The complete label is included before taking smaller details |
| Closure and other hardware | Front, accessible back, engraving, zipper pull, slider and teeth | Reflection leaves the marks readable |
| Straps and handles | Full arrangement, both attachment ends, adjusters and joins | Detachable parts are identifiable and included |
| Condition and repairs | Corners, piping, bends, worn panels and any replaced part | Each defect has a wider view and a close-up |
| Size and accessories | Ruler beside the relevant dimension; included dust bag and inserts | Scale is in the same plane; extras are shown separately |
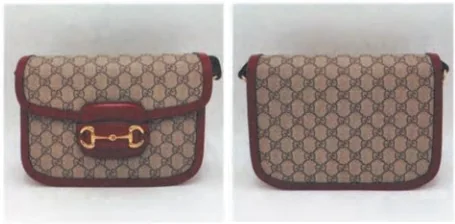
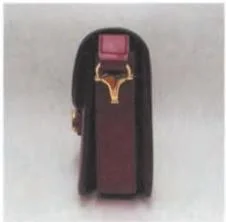
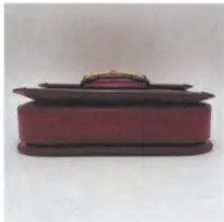
The paired exterior photograph makes the bag easy to place before the close-ups begin. That relationship matters just as much for condition: a worn corner needs enough surrounding material to show which corner it is. Photograph all corners and then move closer to the damaged ones.
Make the Small Details Readable
Leather tag: location, front and reverse
Support the tag gently from behind, keeping fingers clear of the lettering and tension off its attachment. Photograph each face straight on, with all character rows included.
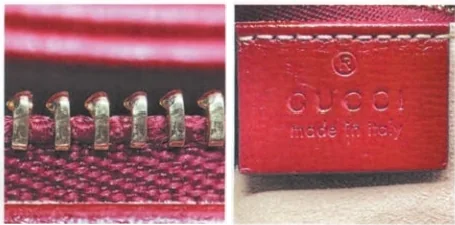
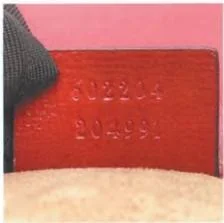
A buyer asking about a Gucci bag had photos available but lacked the requested front of the interior tag. Ask for both faces at the outset. If the impression is faint, keep the straight view and add a second frame with the light moved slightly sideways. The change can reveal shallow relief while the first frame preserves proportions.
For interpreting the letters and rows, use my Gucci leather tags and serial numbers guide.
Black label: full frame before the tiny print
Find the label in its pocket or seam and photograph that location. Take the whole visible face with all four edges before isolating a letter or code. Include the reverse only if it is accessible without pulling the seam apart.
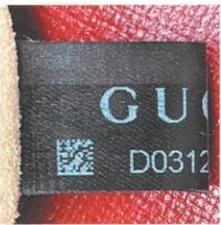
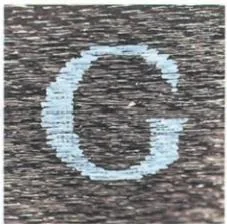
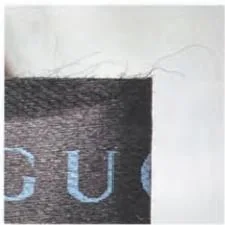
My G close-up resolves the printed stroke and weave; the edge photograph records the outline and loose filaments. Use the Gucci black-label guide to interpret those features.
Hardware and zippers: change the reflection, keep the detail
For a zipper, show the pull, slider, accessible underside, teeth and the way the zipper tape meets the lining. Open or close it only as far as it moves comfortably.
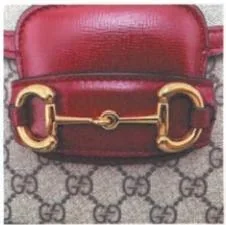
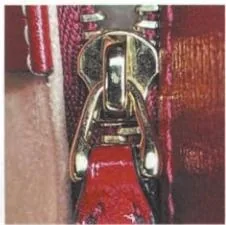
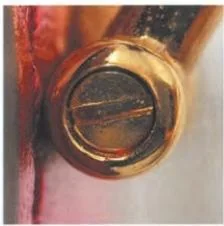
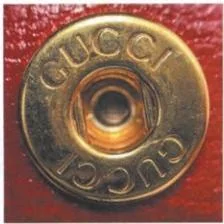
When glare erases lettering, move the light or rotate the item slightly and refocus. I keep a square view for shape and an angled view for surface detail. The hardware and zippers guide explains how to interpret them.
Dust bag and cards: keep the supporting set identifiable

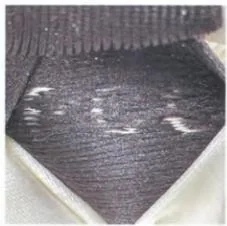
Photograph the full dust bag, then its label on both accessible sides. For a controllato card or booklet, record the complete front and back before any print or paper-edge detail. List which extras came with the purchase and which were added later. Their evidence value belongs in the dust-bag and controllato-card guide.
Gucci Belt Photos: Show the Working Assembly
Lay the belt out gently so the full strap is visible. Photograph both sides, then work from buckle to tip. A belt needs views of its fastening and fit history as well as its logo.Use the rows that fit the buckle type and document any alterations.
| View | What to photograph | Why the frame matters |
|---|---|---|
| Whole belt, both faces | Full strap, buckle, keeper and tip | Connects each detail with the same belt |
| Buckle front and back | Complete outline, rear body and accessible marks | Preserves proportions and fitting locations |
| Fastening and attachment | Stud or prong from the side; leather fold and buckle joint | Shows how the parts meet and work |
| Holes and tip | Whole hole sequence, individual rims and strap edges | Records original layout, wear and possible added holes |
| Stamp and size | All words and numbers in one view, then readable details | Keeps characters in their original arrangement |
| Pattern and condition | Several adjacent repeats, bends, cracks and repairs | Places local wear within the wider strap |
| Measurement | Ruler or tape with the buckle starting point and chosen hole identified | Makes the reported length reproducible |
Include a side view of a fastening stud so its head, neck and base can be seen. Keep the buckle attached; dismantling it adds little to an initial photo set and can damage the assembly. For the relevant sizing method, hole arrangements and alteration checks, use my Gucci belt authentication guide.
When to Retake a Photo—and What to Change
Review each file at full size before putting the item away. In a Gucci buyer’s discussion, several follow-up requests still centered on clear tag photographs. The useful measure is whether the requested feature can be read, rather than how many images have been sent.Change the cause of the problem before taking the next frame.
| Problem in the file | What is missing | Specific retake |
|---|---|---|
| Digits merge into soft shapes | Focus on the stamped surface | Back away, tap the digits and steady the phone |
| A white patch covers engraving | Surface detail beneath glare | Move the light or turn the fitting slightly; keep the whole mark |
| One end of a tag looks much smaller | A reliable view of proportions | Bring the camera parallel to the tag face |
| A fingertip or crop hides a row | Complete character sequence | Support from behind and leave space around all edges |
| A sharp letter floats without context | The detail’s location | Add a wider frame showing the same feature on the item |
| Color changes across the set | Comparable lighting and item continuity | Repeat the relevant views in one session under the same light |
| The download is blocky or tiny | The original image information | Send the original file through the recipient’s accepted upload method |
In another Gucci listing discussion, a buyer noticed a tag looked brown in one photo and black in another. To investigate, request the interior and both tag faces together under consistent light.
Send a Coherent Set of Original Files
Keep one folder per item. Name files by view, such as 01-gucci-bag-front.jpg and 08-gucci-leather-tag-front.jpg; use -location and -detail for related pairs.
Use the reviewer or platform’s accepted file format and upload method. Send individual images at original quality where supported, then open a downloaded file to confirm the lettering survived. Screenshots and collages are useful for conversation but should accompany the originals.
Include the listing link, claimed model, approximate size, purchase history you actually know, included parts and disclosed repairs. A short continuous video can connect the exterior, interior and tag; readable still photographs remain useful for comparing fine details. Send purchase documents privately, with unrelated address or payment information covered on a separate copy.
Please send original-resolution photos of the full front, back, both sides, base and interior; the leather tag front and reverse; any fabric label; closure and zipper details; strap attachments; and visible wear or repairs. Please include one wider location view with each tiny detail and use the same lighting throughout. If a feature is absent or inaccessible, show the surrounding area and mention it.
Frequently Asked Questions
How many photos do I need for Gucci authentication?
Cover every applicable checklist row, with extra frames for both sides, small marks and damage. The exact number depends on the item and the reviewer’s requirements.
How close should I hold my phone to a Gucci tag?
Use the closest distance at which the whole requested detail stays sharp. If it blurs, move back, refocus and inspect the saved image.
What if I cannot find a black label or serial tag?
Photograph the lining, pockets and likely attachment areas, then report that the label was not located. Leave seams intact and let the reviewer assess the relevant version.
Can I send a screenshot of the serial number?
Send the original photograph if available, including the whole tag and its location. A screenshot may lose the detail needed to compare the characters.
Can a video replace the close-up photos?
Video helps connect the parts of one item. Supply focused stills as well so the reviewer can inspect lettering, weave and engraving.
Does a complete photo set guarantee an authentication result?
It gives the reviewer useful coverage. Obscured marks, repairs or unfamiliar versions may still call for more evidence or an in-person assessment.
Before You Put the Item Away
Keep the item available until the reviewer confirms the set is usable. A missing angle is easier to resolve while the bag, belt and lighting are still in place.
This completes my eight-part Gucci series. Start with the Gucci brand codes guide for the design vocabulary, then use the specialist articles linked above to interpret the details you have photographed.